Updated 9/21/2023
This recipe is modified from the "Easy Flat Bread" recipe by Julie Goodwin.
Matzo or matzah/matza/mazzah is popular with traditional Jews for unleavened bread during the holidays. The word comes from the Hebrew in Exodus 12:15 and other verses referring to the unleavened bread for Pesach/Passover. However, matzo today is not the unleavened bread the ancient Jews made and ate. The dry wheat cracker that is matzo today, is an over exaggeration of the "bread of affliction" (Deuteronomy 16:3) that came from overly religious teachings and focuses. If the Jews had to eat today's matzo in their Exodus journey, they would have needed much more water to quench their thirst. Instead of making you thirsty, the Bread of Affliction is supposed to remind us of the rush leave life in Egypt when God called the people through Moses.
It is also a great exercise in participating as the ancient Jews did during the holidays to make your own unleavened bread. I suggest this nice and easy recipe, which would be similar to what the Jews made in antiquity. They had all the ingredients on-hand when they left Egypt. Butter was used in ancient Egypt in case you wonder, though when conditions were scarce, like during the people's long time in the desert, they likely used olive oil instead or only water.
Makes 4 large, 6 medium, or 8 small rounds
Ingredients
- 2 cups (300 g) flour (all-purpose or whole wheat), plus about 1/4 cup extra flour for dusting & adjusting dough
-
1/2 tsp salt
-
3-1/2 tbsp (50 g or 1.75 oz) unsalted butter (reduce salt by about 1/8 tsp if using salted butter or margarine); optionally you may replace the butter with 2 tbsp olive oil (common in the ancient Middle East and Mediterranean) or another vegetable oil; sesame oil was also used in the ancient Middle East[1.1]
-
3/4 cup (185 ml) milk
-
1/2 tbsp olive oil or vegetable oil (for cooking), optionally, you may use a spray oil instead
Optional Spices, whole or chopped, may be added to heating milk butter (especially if dried) or evenly mixed into the flour before forming the dough. This dough should not be over kneaded, so kneading herbs or spices into the formed dough is not recommended.
Method
 |
On stove or in microwave, heat butter, milk, and optional herbs or spices, until the butter is just melted.
For stove, use a small pot or saucepan over medium-high heat.
For microwave, use a medium power or “soften/melt” setting (full
power is fine if you can’t use a different power setting) and remove the butter
immediately when it has melted to prevent overheating. Covering the bowl
for heating is recommended in case the butter pops or explodes, which will likely happen on full power.
Mix the butter-milk mixture until combined. If it gets too hot, let it cool. It should only be warm to the touch and not scalding.
Sprinkle a flat work surface with flour for kneading the dough. |
 |
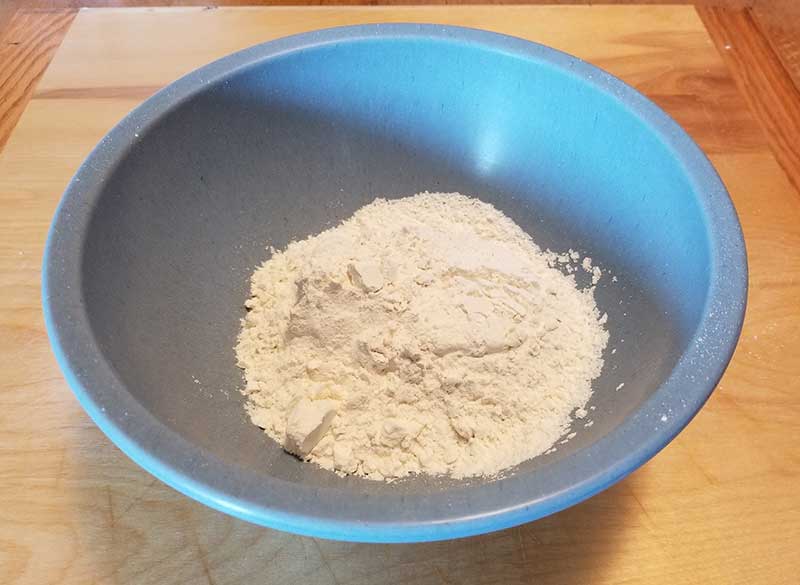
In a large mixing bowl, combine 2 cups flour, salt, and any optional herbs or spices if not already added to butter-milk mixture (mixing with fingers is good enough).
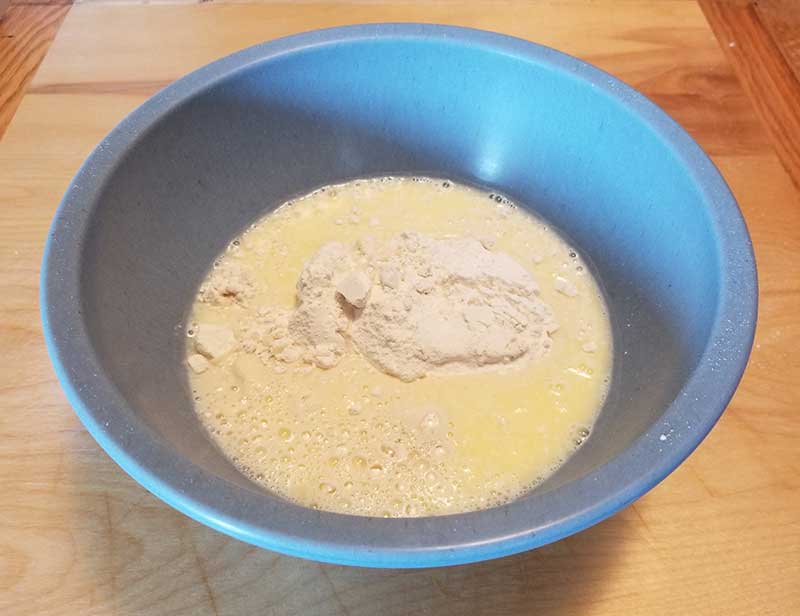
Make sure the butter-milk mixture is not too hot and add it to the bowl, mixing with hands, wooden spoon, or rubber spatula, until well combined. |
 |
Gather the dough into a ball and move it onto the floured work surface. Knead for a few minutes until dough is smooth. It doesn't need much kneading. Add extra flour if the dough is too sticky. The dough should be smooth and a little tacky, but not stringy, sticky.
Wrap the dough in plastic cling wrap and rest it at room temperature for 30 minutes or so. |
 |
Make sure the work surface is clean of dough scraps and re-dust it with flour to work the dough again.
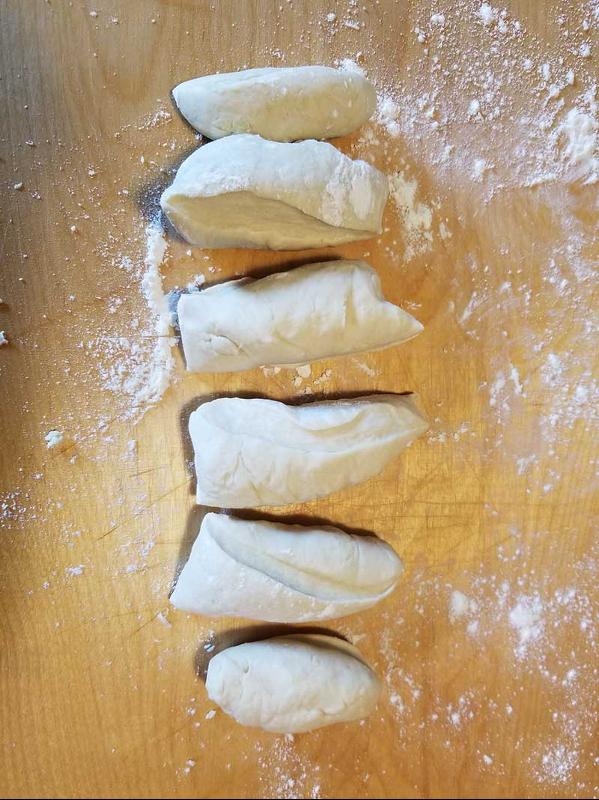
Cut the dough into 4 to 8 pieces, depending on how large you want each piece to be. You don’t have to be exact or uniform in your cutting.
I find that cutting the dough into 6 parts makes a good size for a medium-size, single eating portion. Cutting into 4 parts makes portions about the size of large tortillas. |
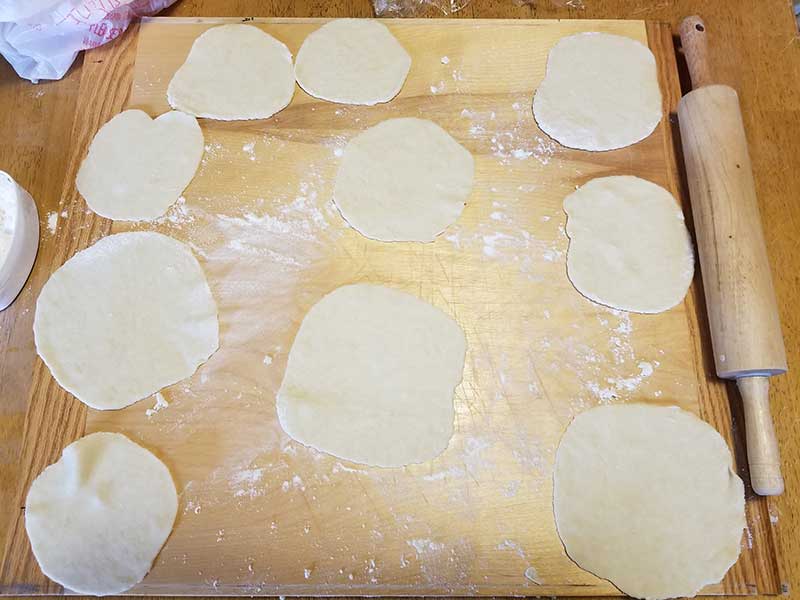 |
Roll the cut dough into balls, then with a rolling pin or any kind of roller, roll out the dough balls to about 1/8" (0.3 cm) thick rounds.
Thicker rounds will come out softer, while thinner rounds will be crispier.
Roll out all dough balls so they are ready to cook. Keep them separate before cooking or stack them between plastic cling wrap or wax/parchment paper. |

 |
Heat oil or spray oil in a nonstick pan over medium heat - or lower
if you have a heavy skillet (see Note 1). Make sure you allow the pan
to heat thoroughly before cooking. If you see the oil smoking, reduce
the heat.
Optionally, for more even cooking, use a folded paper towel (a half sheet
or standard-sized napkin will do) to evenly spread out the oil on the
pan’s surface. Be careful with the hot surface and oil. I fold the towel
into a thick rectangle and bend up one side to use as a grab handle
while pressing down on the bottom end as I wipe the pan. You will want to
use this oil wipe every time you add more oil to the pan.
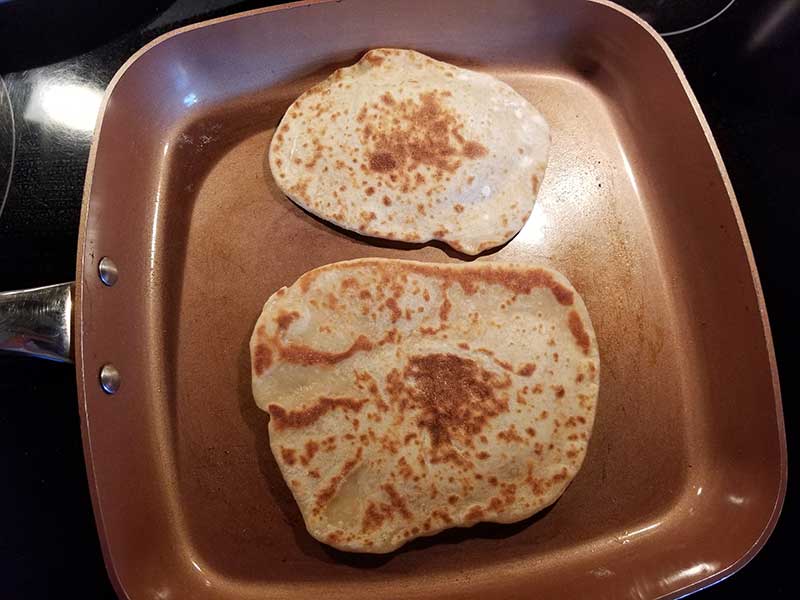
Place flatbread rounds into the pan as can be fitted without the rounds touching. Cook each side for about 1 to 1-1/2 minutes. The rounds should bubble up (see photo). Then flip and cook the other side, pressing down if it puffs up. There should be smallish, golden brown spots on both sides. If spots are black or too dark, reduce heat and/or reduce cooking time per side.
Optionally, brush or spray bread with olive oil or melted butter
during cooking for a more luxurious finish, or even with melted butter
mixed with minced garlic for a garlic butter version.
|
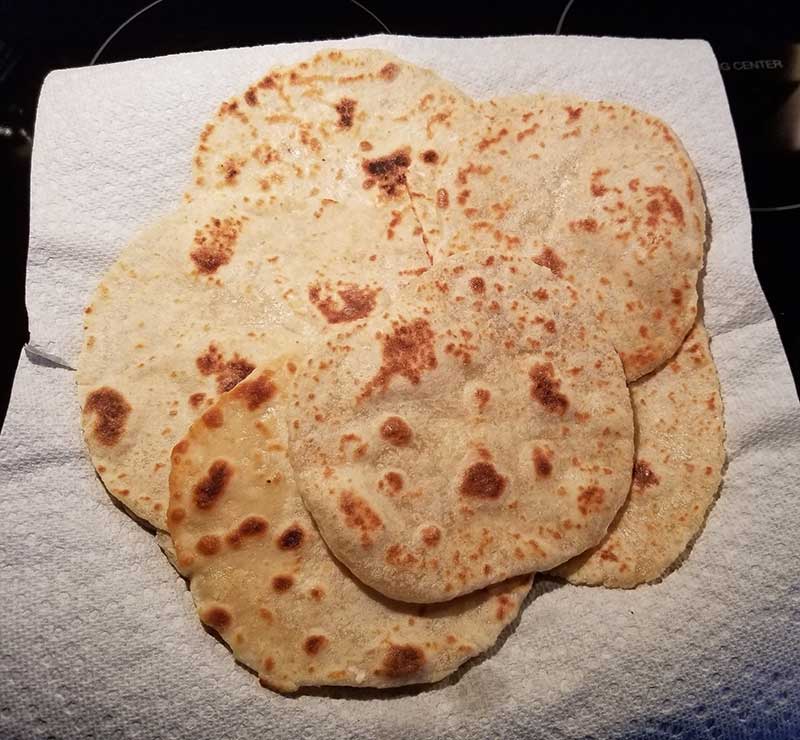 |
Stack the cooked bread and cover with a clean towel. The moisture helps soften the surface, making them even more pliable.
Continue to cook remaining pieces. |
Notes
- Higher heat and thinner dough = crispier crust, though still pliable inside. The thin crispy crust on the outside might crack when you roll it, which is how Indian naan flatbread is.
- Before storing or covering cooked bread, let it cool so excessive moisture does not accumulate in storage bags or containers.
- The cooked flatbread keeps at room temperature for a couple days. They keep in the refrigerator for a couple more days. Uncooked dough keeps in the refrigerator for around 3 days. Cooked breads keep really well in the freezer for many months.
I generally only cook enough pieces to last until they go bad, so for longer periods of needing flatbread, like during Passover, I will make one batch to begin the week and another batch when I run out to finish the week. This recipe is easy, so making a few batches over time is not much effort.
Enjoy your unleavened bread!
References
|


